
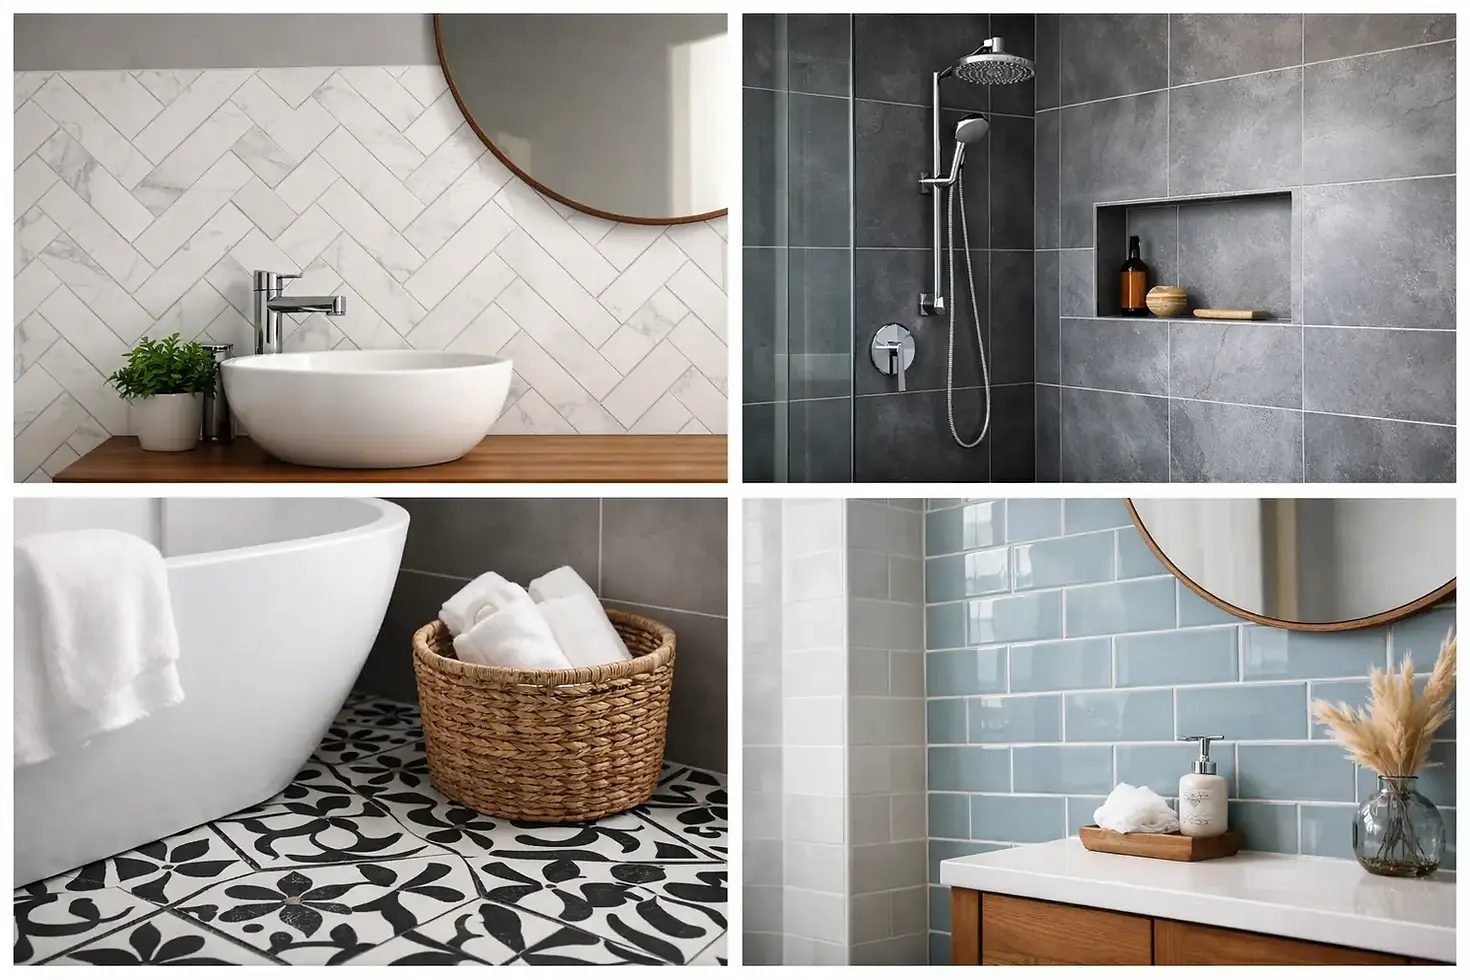
10 Best Bathroom Tile Layouts for UK Homes

A bathroom can have excellent sanitaryware, good lighting and a carefully chosen colour scheme, yet still feel slightly off if the tile layout is not right. The best bathroom tile layouts do more than look attractive on a sample board. They make the room feel balanced, work around awkward corners and pipework, and give the finished installation a clean, considered appearance.
For most homeowners, the right choice comes down to the room’s size, the style of tile, and how much maintenance they are happy to take on. A layout that suits a large family bathroom may be too busy for a compact ensuite. Planning it properly before fitting begins also avoids narrow tile cuts, uneven lines and costly changes once work is under way.
10 best bathroom tile layouts to consider
1. Straight lay for a clean, dependable finish
A straight lay uses square or rectangular tiles lined up in neat horizontal and vertical rows. It is one of the most reliable options for walls and floors because it works with almost every tile size and bathroom style.
Large-format porcelain tiles in a straight lay can make a modern bathroom feel calm and uncluttered, particularly when paired with a grout colour close to the tile. It is also a sensible choice where walls are not perfectly square, as an experienced installer can set the layout from the most visible wall and keep cuts discreet at the edges.
2. Brick bond for classic character
Brick bond, sometimes called running bond, offsets each row by half a tile. It is a familiar layout for metro tiles and suits traditional, industrial and contemporary bathrooms alike.
This arrangement adds movement without becoming fussy. It works particularly well behind a basin or around a shower enclosure, where a tiled feature wall can add interest without requiring patterned tiles. With long rectangular tiles, check the manufacturer’s guidance before choosing a half-tile offset. Some tiles have a slight natural bow, and a one-third offset may produce a flatter result.
3. Vertical stack bond to make ceilings feel higher
Stack bond tiles line up directly above one another. Turning rectangular wall tiles vertically is a simple way to draw the eye upwards, making it one of the best bathroom tile layouts for a small room with a low ceiling.
This layout looks especially sharp with slim tiles, such as 60 x 300mm or 75 x 300mm formats. Dark green, navy or charcoal vertical tiles can create a smart shower wall, while a lighter tile used across all walls keeps a smaller bathroom from feeling enclosed. Accurate setting out matters here because misaligned grout joints are immediately noticeable.
4. Horizontal rectangular tiles for a wider feel
Where a narrow bathroom feels long and restricted, laying rectangular tiles horizontally can visually broaden the walls. This is often effective in cloakrooms, ensuites and bathrooms where the basin wall is the main focal point.
Avoid assuming that horizontal tiles will solve every space issue. A very busy tile, strong contrast grout or lots of separate tiled areas can still make a compact room feel crowded. Often, a simple horizontal layout in a pale mid-sized tile provides the best balance.
5. Herringbone for a feature wall or floor
Herringbone places rectangular tiles at 90-degree angles in a repeated zig-zag pattern. It brings a high-end look to a bathroom and works brilliantly as a shower feature, behind a freestanding bath or on a floor in a larger room.
It does take more labour and creates more offcuts than a straight layout, so it is worth allowing for this in both the tile order and installation budget. In a very small bathroom, use herringbone in one defined area rather than on every surface. That gives the design impact without overwhelming the room.
6. Chevron for a more tailored look
Chevron has a similar visual effect to herringbone, but the tile ends meet to form a continuous V shape. It tends to look more formal and geometric, particularly with marble-effect porcelain or timber-look tiles.
Chevron tiles are usually manufactured with angled ends, which helps create a precise pattern. The trade-off is that the layout needs careful planning around drains, niches and room edges. It is best suited to a feature area where the pattern can be centred and appreciated, rather than a floor broken up by a toilet, vanity unit and bath panel.
7. Diagonal floor tiles for awkward room shapes
Laying square tiles on a 45-degree angle can soften an awkwardly shaped floor and make a small bathroom appear less box-like. It is a useful approach in rooms with a sloping wall, offset doorway or an uneven visual balance.
Diagonal layouts produce more perimeter cuts, so they require confident measuring and a little extra tile allowance. They can also look dated if paired with overly decorative border tiles. Keep the finish current with simple porcelain, slim grout joints and uncluttered fittings.
8. Large-format tiles for fewer grout lines
Large-format tiles are not a layout in themselves, but their arrangement has a major effect on the finished room. When laid in a straight grid with narrow grout joints, they create broad, uninterrupted surfaces that can make both walls and floors feel more spacious.
They are a practical choice for homeowners who want less grout to clean. However, large tiles demand suitably flat walls and floors. Trying to force them over uneven backgrounds can lead to lipping, where one tile edge sits higher than the next. Proper preparation is as important as the tiles themselves.
9. Mosaic panels for shower zones and niches
Mosaic is best used with purpose. A mosaic panel in a shower, a recessed shelf or a bath splashback can bring texture and colour to a straightforward tiled bathroom.
Small tiles are also useful on shower floors because the additional grout joints can improve grip and allow the surface to follow a fall towards the drain. The downside is maintenance: more grout means more cleaning, particularly in hard-water areas. Choosing a good-quality grout and ensuring the shower is properly waterproofed behind the tiles will make a real difference to long-term performance.
10. One continuous floor across the bathroom
Using the same floor tile throughout a bathroom creates a joined-up, spacious look. It is particularly effective in a bathroom with a walk-in shower, where a carefully formed tiled shower floor can flow into the rest of the room.
This approach needs the right tile rating and a properly designed floor fall in wet areas. Not every tile is suitable for shower floors, and slip resistance should never be treated as an afterthought. A professional installer will also plan movement joints, waterproofing and the position of the drain before tiles are fixed.
How to choose the right bathroom tile layout
Start with what cannot move: the bath, shower tray or walk-in shower area, toilet, basin, doorway and windows. These fixed points determine where full tiles can be placed and where cuts will be needed. A good layout normally puts full or near-full tiles in the most visible areas, rather than leaving a thin sliver beside the door or at eye level behind the basin.
Tile size matters, but the usual advice that large tiles always make a small room look bigger is too simple. Large tiles can look excellent in a compact bathroom if the walls are flat and the layout avoids tiny cuts. In some rooms, a mid-sized tile is easier to set out neatly and gives a more proportionate result.
Grout is part of the design, not an afterthought. Matching grout creates a quieter, more expansive effect, while contrasting grout makes the pattern stand out. White grout around white metro tiles can look fresh, but it may show staining more readily in a busy family bathroom. Mid-grey or warm neutral grout is often more forgiving without looking heavy.
Practical fitting details that protect the finish
A good-looking tiled bathroom relies on what sits behind the surface. Shower areas should be properly tanked or waterproofed before tiling, especially around niches, valve outlets and tray edges. Tile adhesive, grout and sealant should all be suitable for wet areas, and silicone joints are needed where walls meet floors, shower trays, baths and worktops.
It is also worth thinking about access before a bathroom is finished. Concealed pipework can look neat, but isolation valves and serviceable components should remain reachable where possible. This is especially relevant when bathroom work is being completed alongside plumbing alterations, such as moving a radiator, fitting underfloor heating or relocating a shower supply.
Ordering enough tile is another practical point. Allow for cuts, breakages and future repairs, with more allowance for herringbone, diagonal or chevron patterns. Keeping a small box of spare tiles can save a great deal of trouble if a tile is damaged years later.
For homeowners planning a bathroom renovation in Manchester, Stockport or Trafford, choosing the layout early allows the plumbing, electrics, waterproofing and tiling to be coordinated properly. That reduces disruption and helps the finished room look intentional rather than pieced together.
The best layout is the one that suits your room, your routine and the level of upkeep you want to manage. A straightforward grid can be every bit as impressive as a complex pattern when the setting out is precise, the waterproofing is sound and the finishing details are handled with care.


Comments